How to get background blur in your photos
This guide is aimed at beginners, or those relatively new to DSLR photography. I am going to explain the main elements that all contribute to background blur in your photographs in non-technical language, and recommend my favourite lenses to help you achieve beautiful blurry backgrounds.
So what is background blur?
Background blur is caused by a very shallow depth of field, whereby only a small part of your image is in focus, and the rest is out of focus. Using a shallow depth of field allows you to isolate your subject from its background and create a soft, dreamy quality to your images.

This photo was taken on my Canon 100mm f2.8 macro lens at f2.8
There are several different factors that all contribute to background blur / shallow depth of field:
1. Aperture
Aperture controls how much light reaches your camera's sensor. It is measured in f-stops. The lower the number of your f-stop, the shallower the depth of field (and the more light is allowed in; you might hear it referred to as "shooting wide open"). A high f-stop number will cause more of your image to be in focus.
If you want to achieve a shallow depth of field/blurry background, it is probably best to shoot in Aperture Priority mode on your camera (AV mode), and to choose the lowest number f-stop available to you for the lens you are using. Each lens will have a different range of f-stops. I usually shoot somewhere between f1.4 and f2.8 when I'm after a shallow depth of field, but it depends on the other elements below.
You should also be aware that some camera lenses have a tendency to be very soft and not sharp enough when you shoot at the lowest f-stop number. I would recommend taking the same shot using a few different f-stop numbers and then comparing the results afterwards. There is nothing worse than getting home and downloading your photos and realising that NONE of them are sharp enough (yes, it has happened to me!).

This photo was taken on my Canon 85mm f1.8 lens at f1.8
2. Focal Length
The focal length of your lens (measured in millimetres) governs the field/angle of view and the magnification of your subject. The shorter the focal length, the wider your view; the longer the focal length, the greater the magnification.
Depth of field gets shallower as focal length increases. Conversely, depth of field increases (so more is in focus) as focal length gets shorter.
So, to achieve blurry backgrounds, choose a longer focal length (and a low f-stop number). For example, I would achieve a very shallow depth of field if I was using my 100mm macro lens at f2.8 or my 50mm lens at f1.4. Whereas if I was taking a landscape photo where I wanted everything to be in focus, I would use my wide angle 17-40mm lens at something like f11.

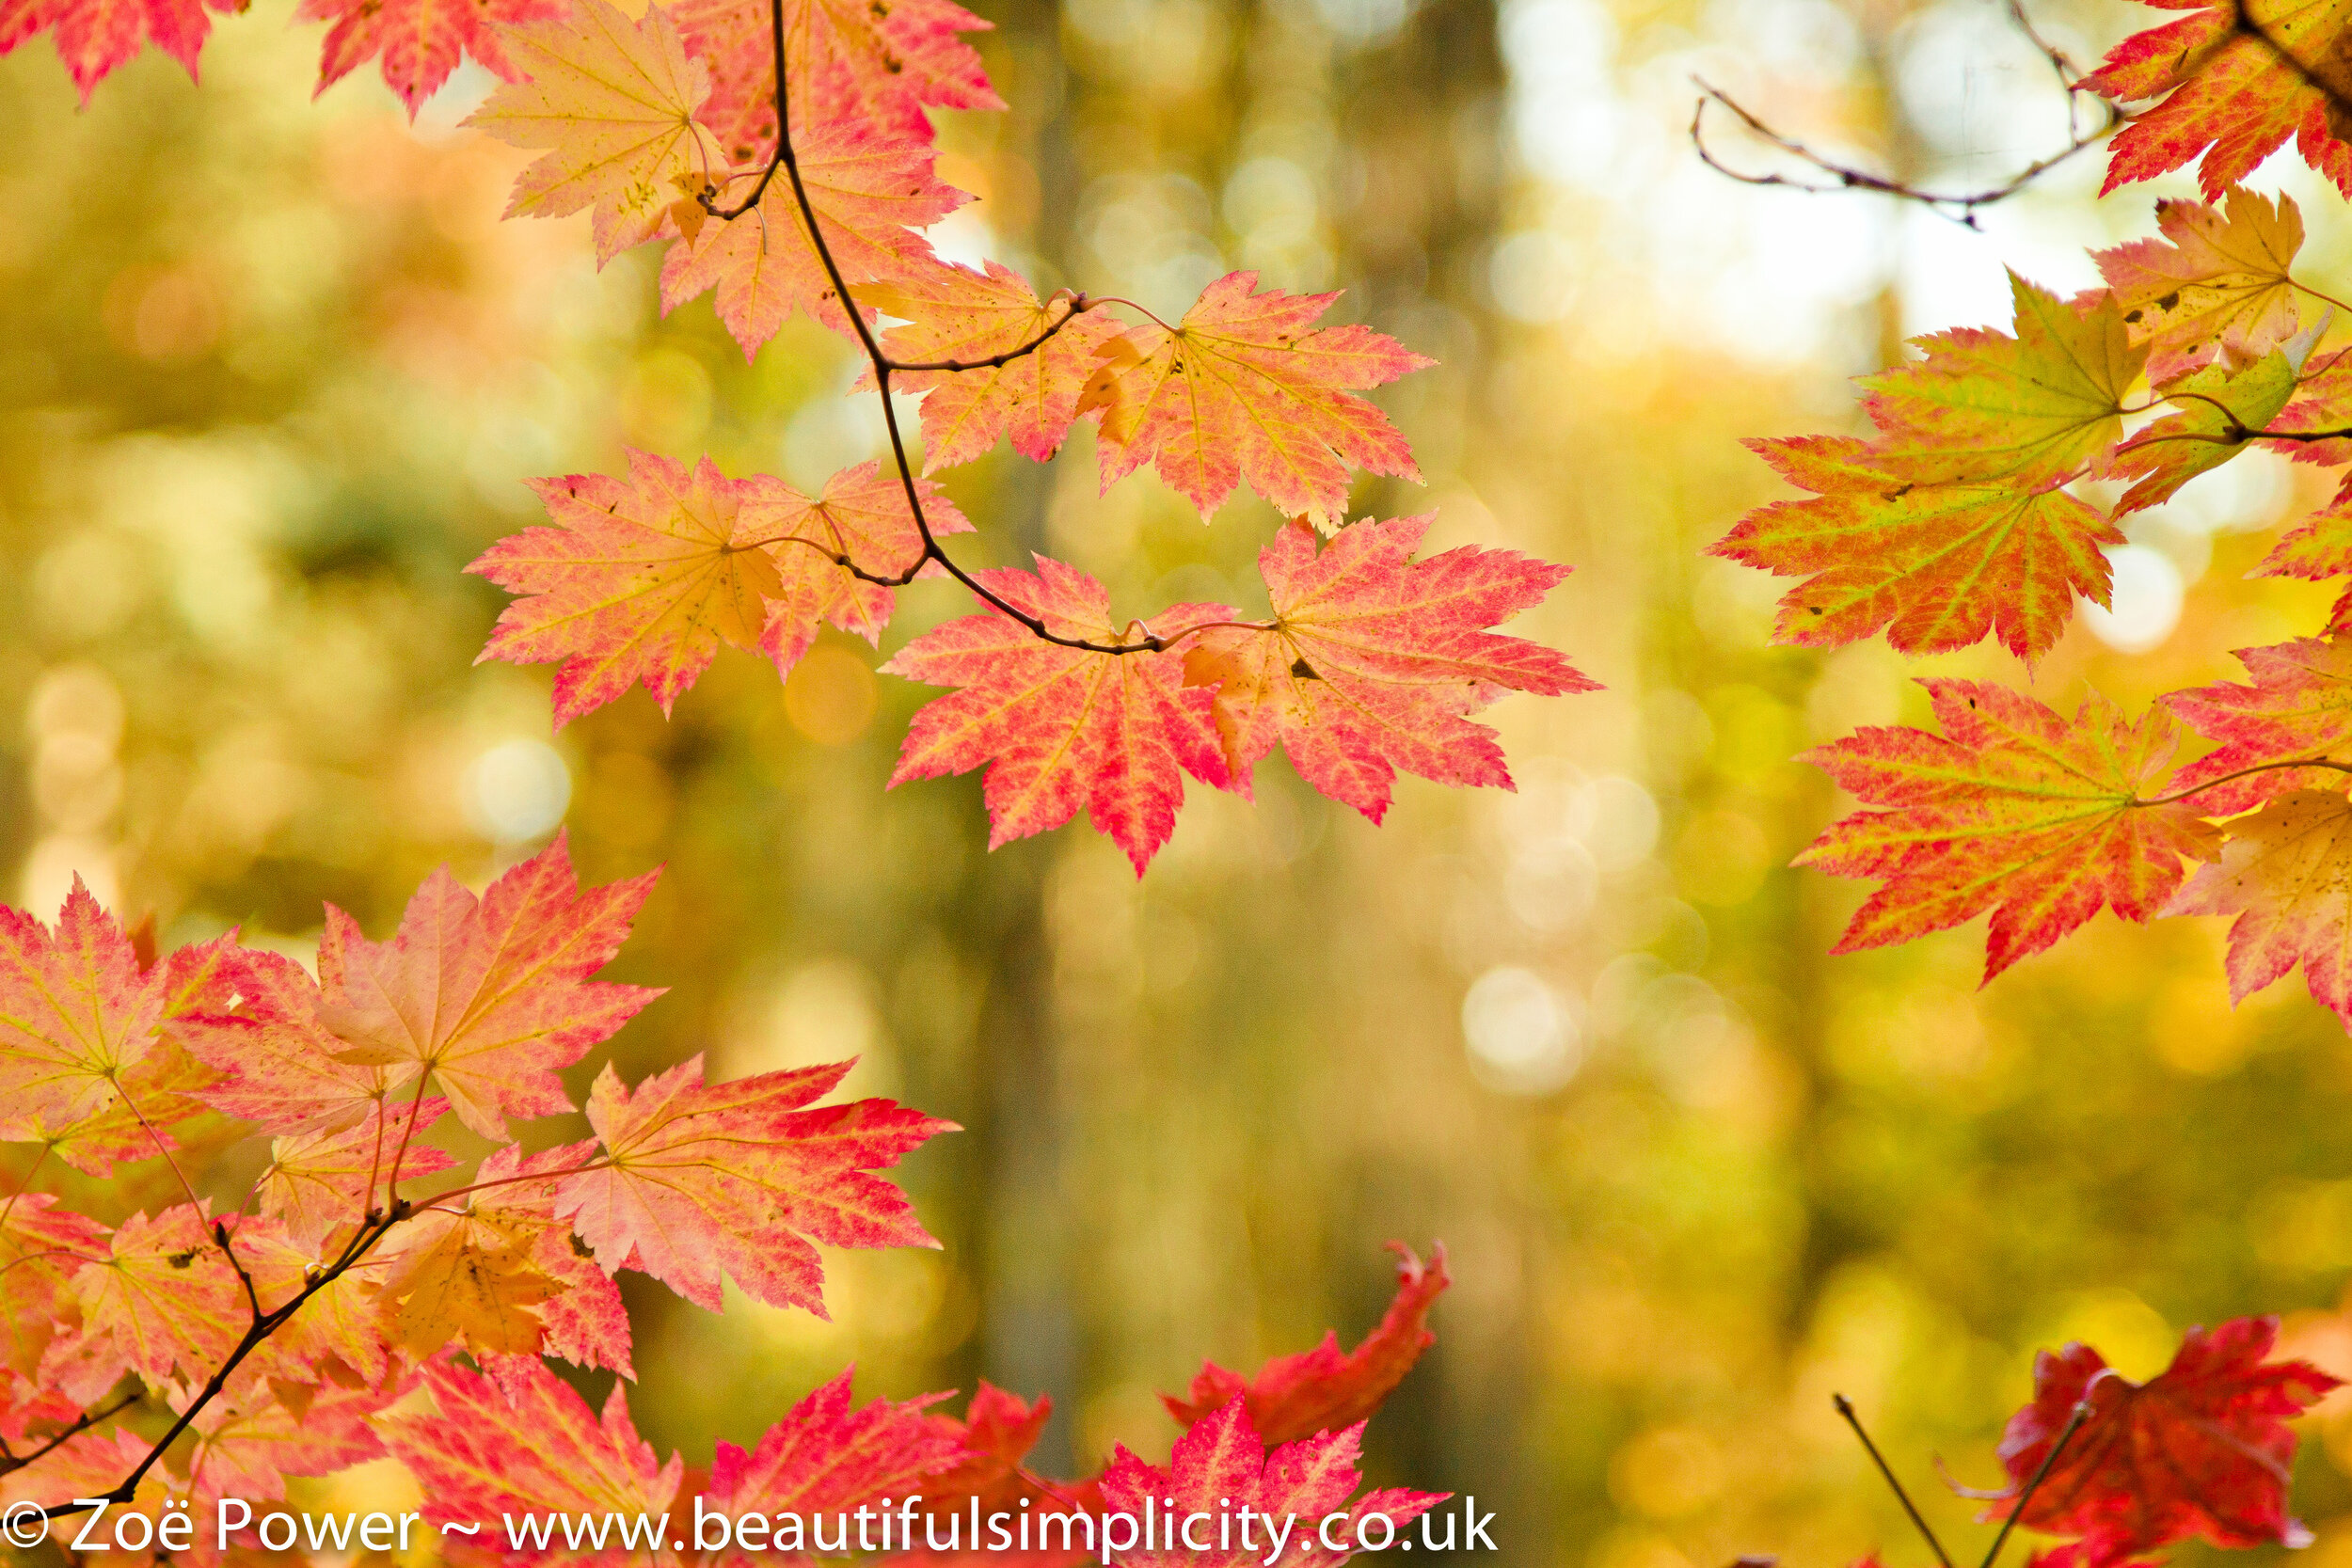
This photo was taken on my Canon 100mm f2.8 macro lens at f2.8. You can see that the depth of field is very shallow, as the back part of the butterfly is not in focus.
3. Distance between the camera and the subject
The closer you are to your subject, the shallower the depth of field will be (and the blurrier your background). The further away you get from your subject, the greater the depth of field (and more of your image will be in focus).
All lenses will have a minimum focussing distance, so it is important to check what this is. If you get closer than your minimum focussing distance, your camera will not be able to focus.

This photo was taken on my Canon 85mm f1.8 lens at f1.8
4. Distance between the subject and the background
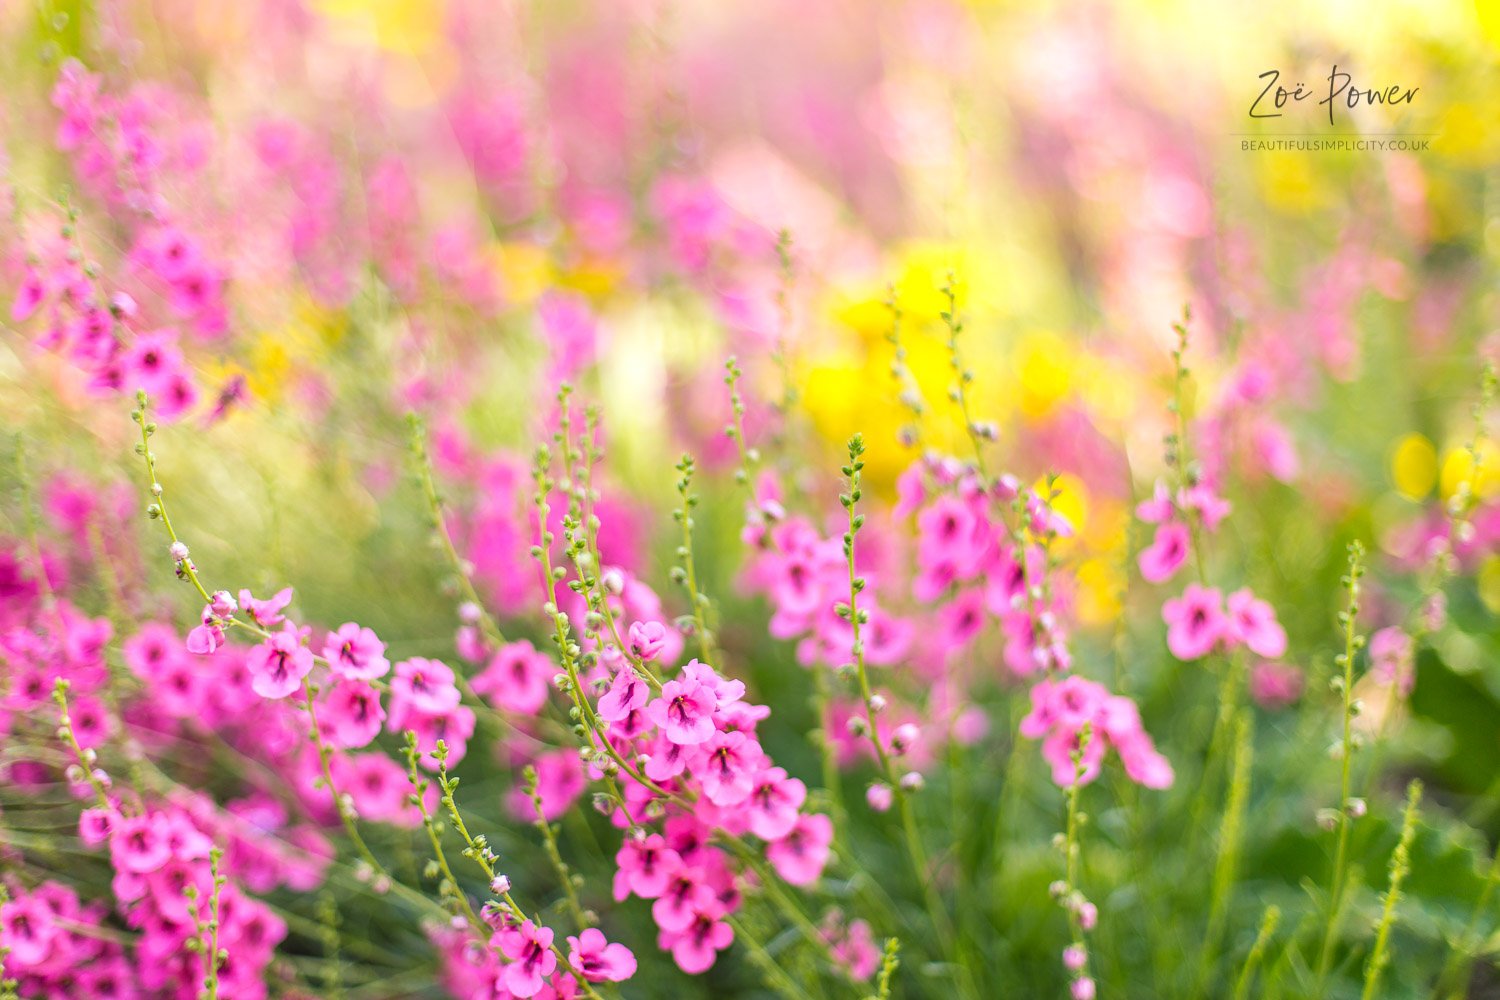
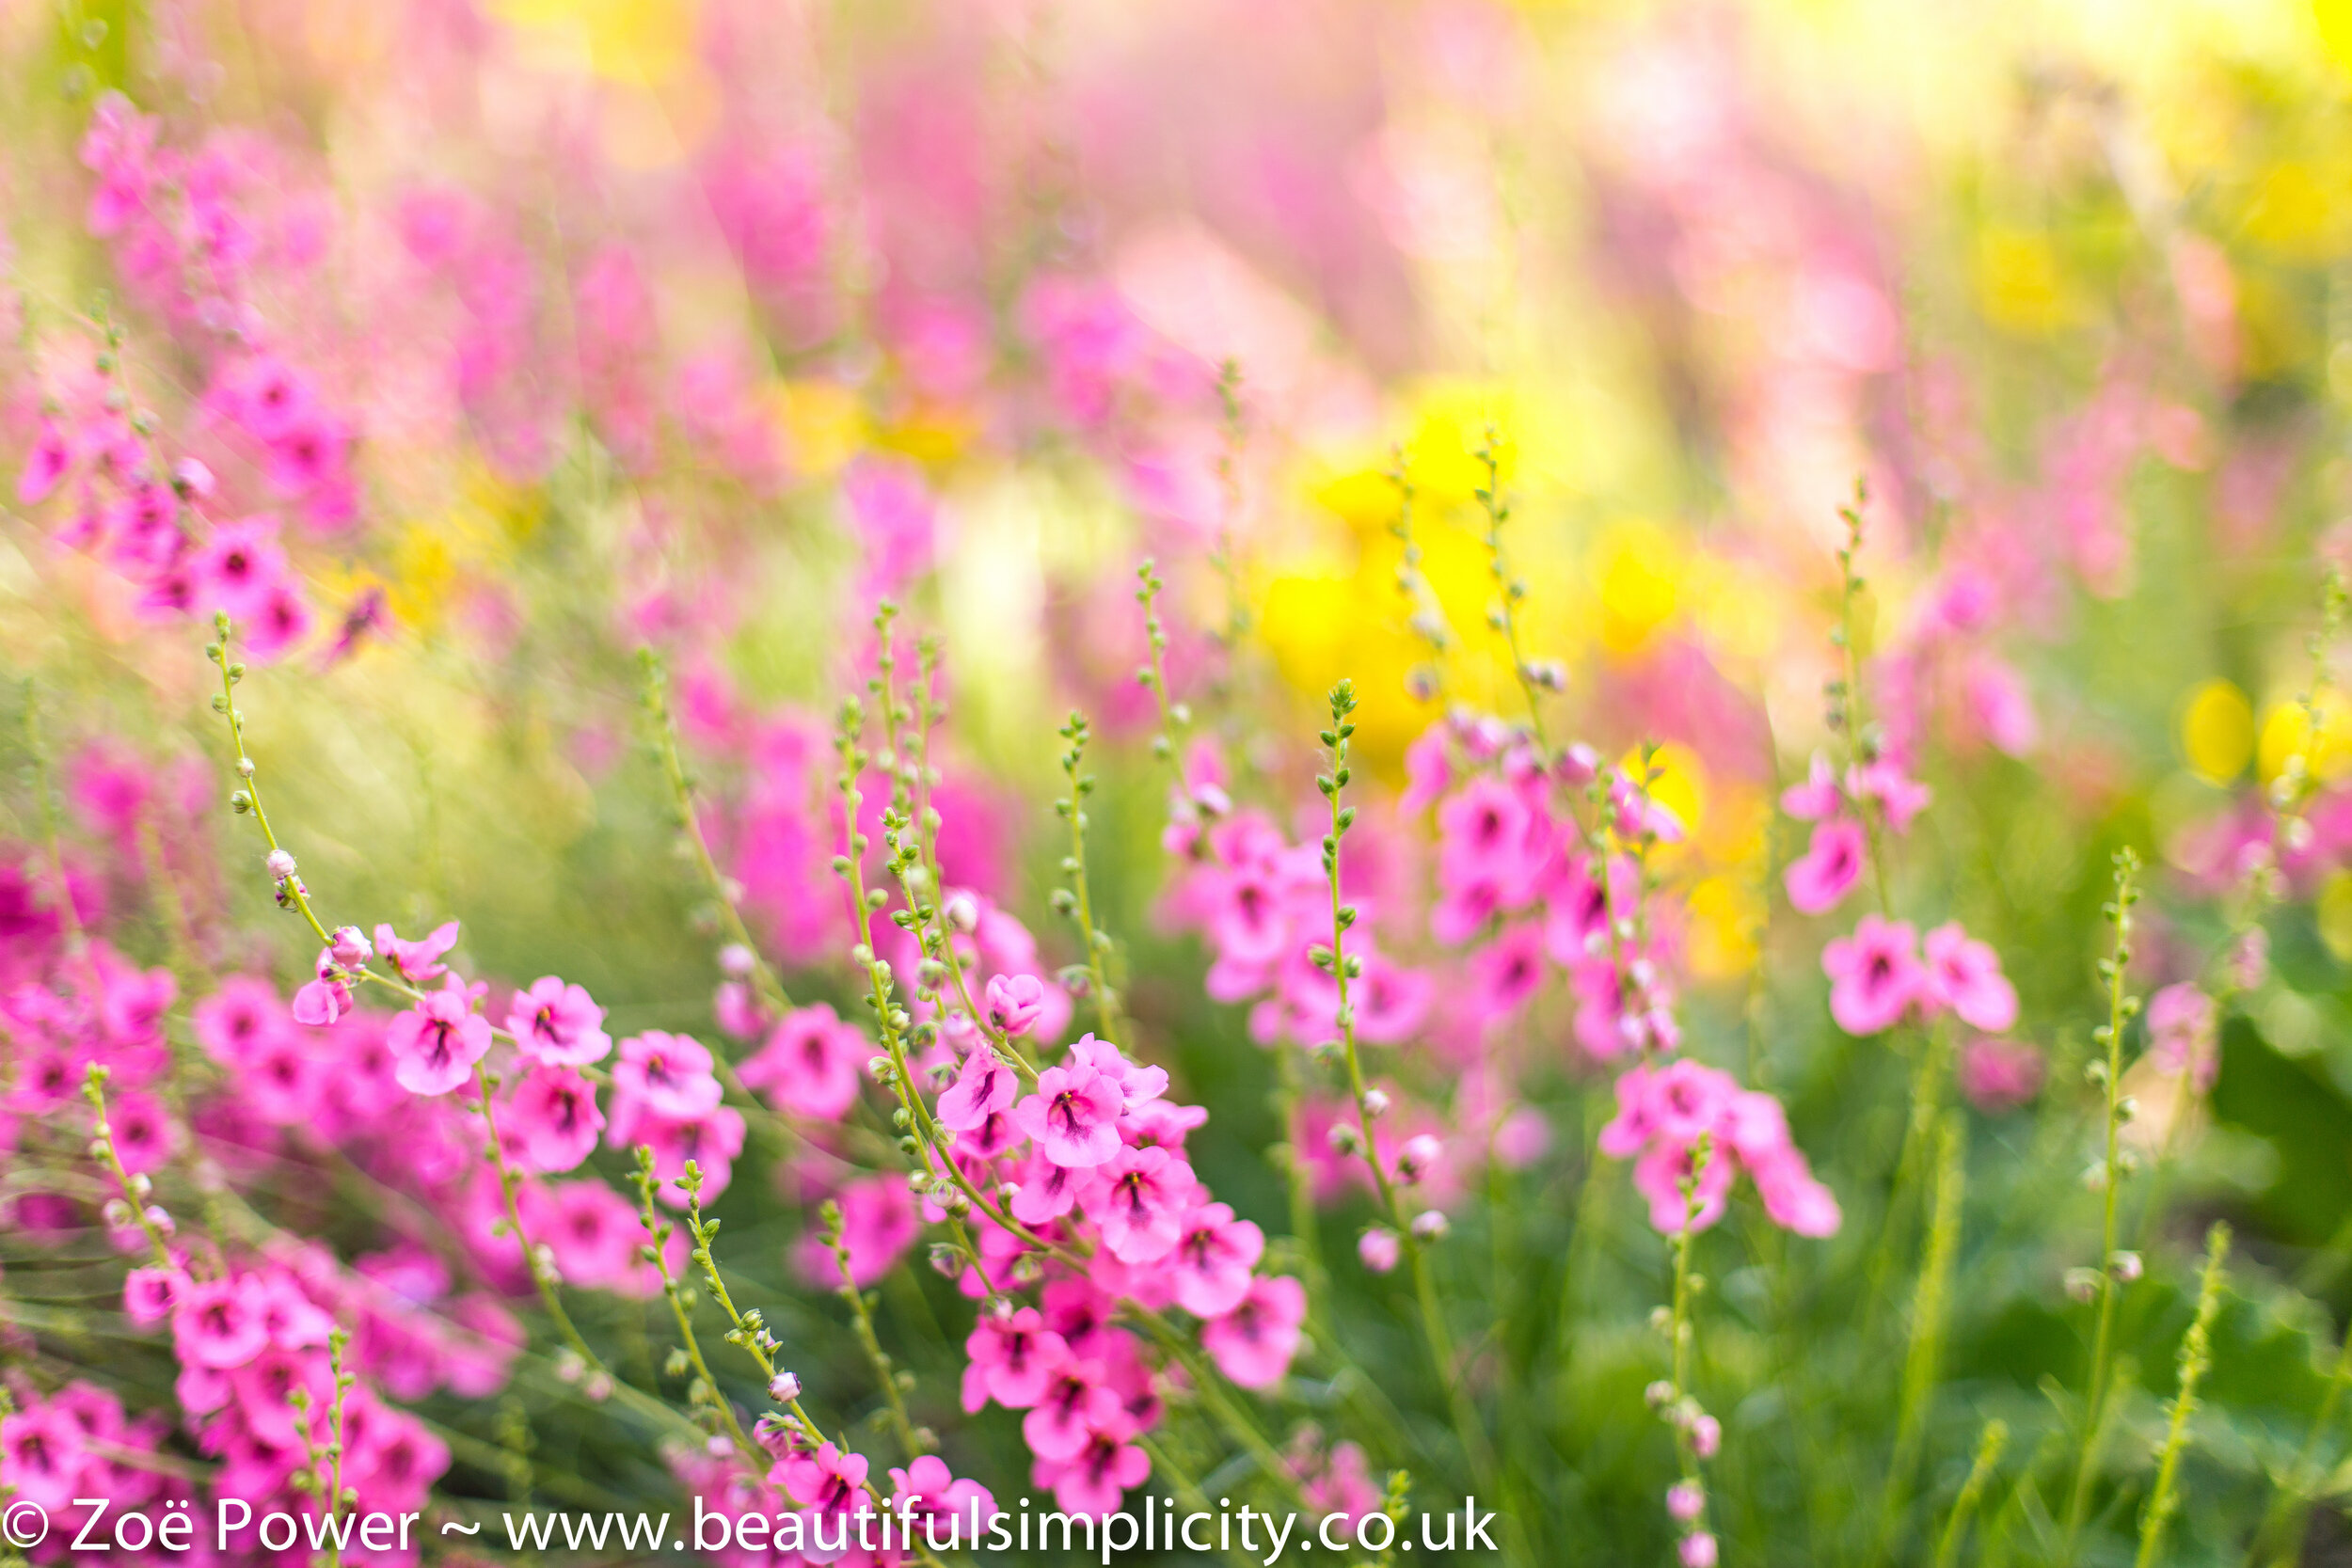
The further away your background is from your subject, the blurrier it will be (as depth of field is describing what depth of the image is in focus; so if the depth is say 10cm, anything further away than that will be out of focus). The closer your background is to your subject, the more of it will be in focus.
You might also want to consider how busy/contrasting your background is. Even if busy backgrounds are out of focus, they can be very distracting. I have found that the simplest backgrounds work best for shallow depth of field photographs, where you want the subject to shine. At home, you could use a plain piece of card or a piece of (ironed) fabric. If you are out in nature, try moving yourself around to change the background (or move your subject if it's portable), and look for complementary colours. You can sometimes find that the background makes the photo, as with the colours in the image below.
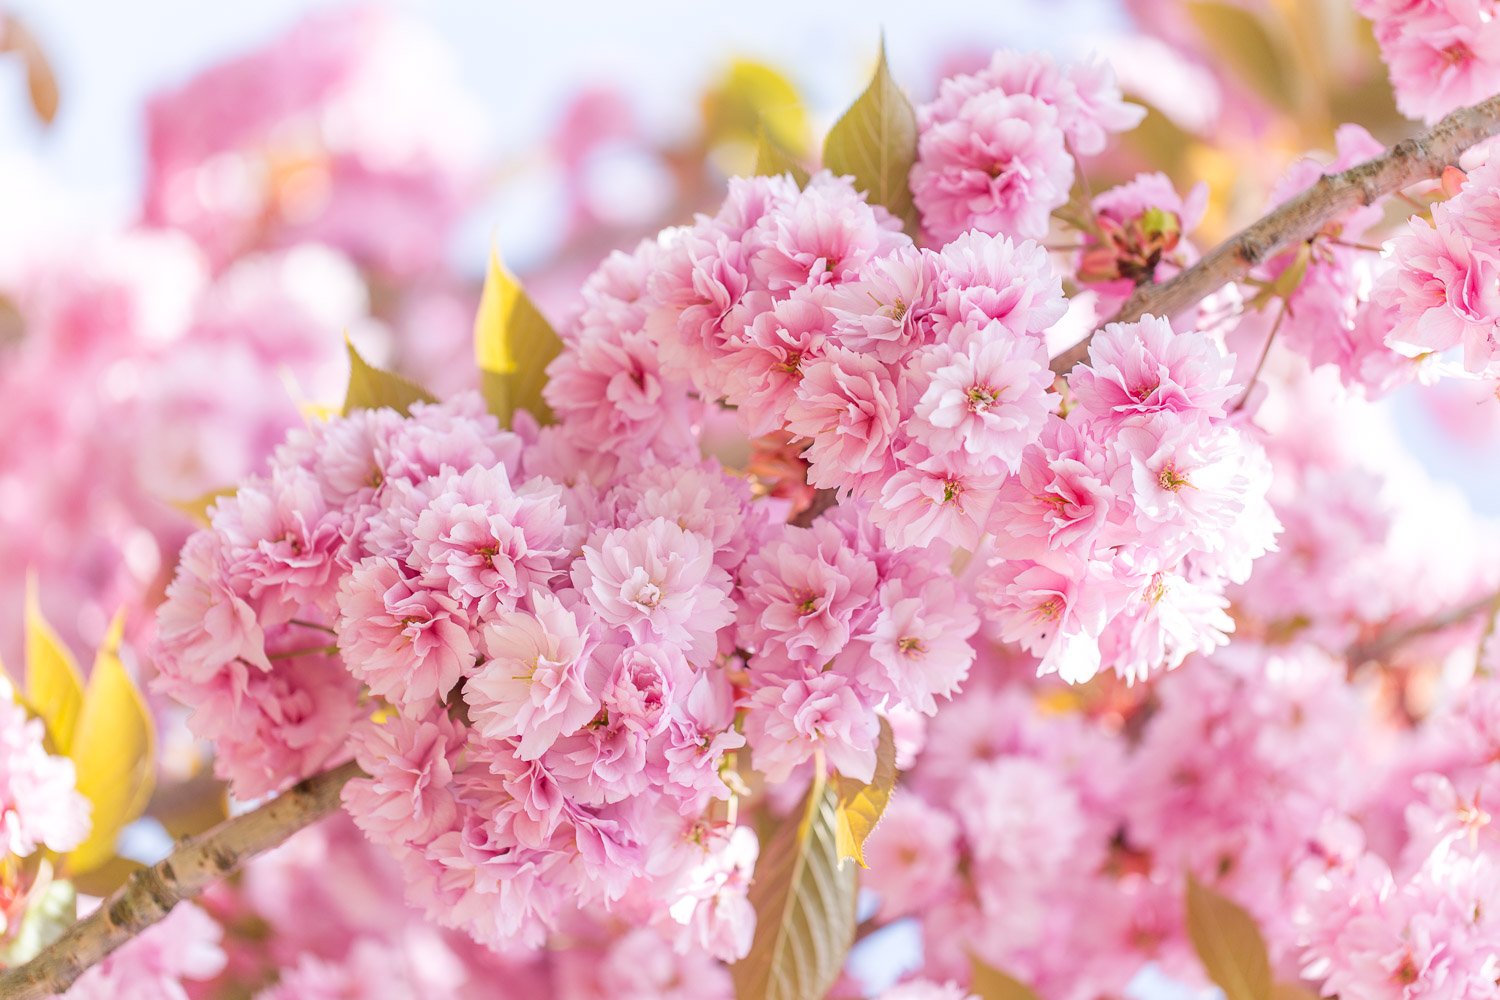
This photo was taken on my Canon 50mm f1.4 lens at f1.6
5. Camera body / sensor
Very simply speaking, the larger the sensor that your camera has, the greater the background blur. There are huge variations between camera sensors and I am certainly no expert on these. But I thought it was worth mentioning here all the same. The type of sensor that the iPhone camera has, for example, is very different to that of a compact zoom camera, or a DSLR. So, with an iPhone, although you may be shooting at f2.2, the focal length is very short/wide, and the sensor is so different, that it is hard to get any background blur. Compact zoom cameras tend not to offer low number f-stops, unless they are very high end, but even then it is hard to incorporate the kind of glass required in such a small frame; they also have small(er) sensors.
To achieve significant background blur, you really need to use a DSLR or micro four thirds camera with interchangeable lenses. With DSLRs, you will achieve more background blur with a full frame camera which has a bigger sensor (such as the Canon 5d or 6d), than the crop frame sensor cameras (such as the Canon 70d or 700d). However, all DSLRs will produce significant background blur when paired with the right lens.
Further reading:
Which lens should I choose?
A great lens to start out with is the 50mm f1.8 or f1.4, depending on your budget. It is probably the cheapest lens you can buy to achieve beautiful blurry backgrounds. It is of course a prime lens, of fixed focal length, so there is no zoom, other than your feet! It is probably the lens most often used by bloggers.
This photo was taken on my Canon 50mm f1.4 lens at f1.4. I was standing very close to the leaf.
If you want to take close-up images of flowers, you will need a longer lens. My favourite is the 100mm f2.8 macro lens. This allows you to focus very close to your subject for an extremely shallow depth of field. It is heavy, though.

This photo was taken using my Canon 100mm f2.8 macro lens at f2.8. I was standing very close to the Astrantias, which are a tiny flower.
Another lovely lens for background blur is the 85mm f1.8 lens. This works well for portraits (as does the 50mm), although it has a longer focussing distance, so you can't get super close to your subject. I like to use it for creative landscape shots too (like the one below). In fact, I think all the bluebell photos in my Why I photograph & the magic of bluebells post were taken using the 85mm lens.
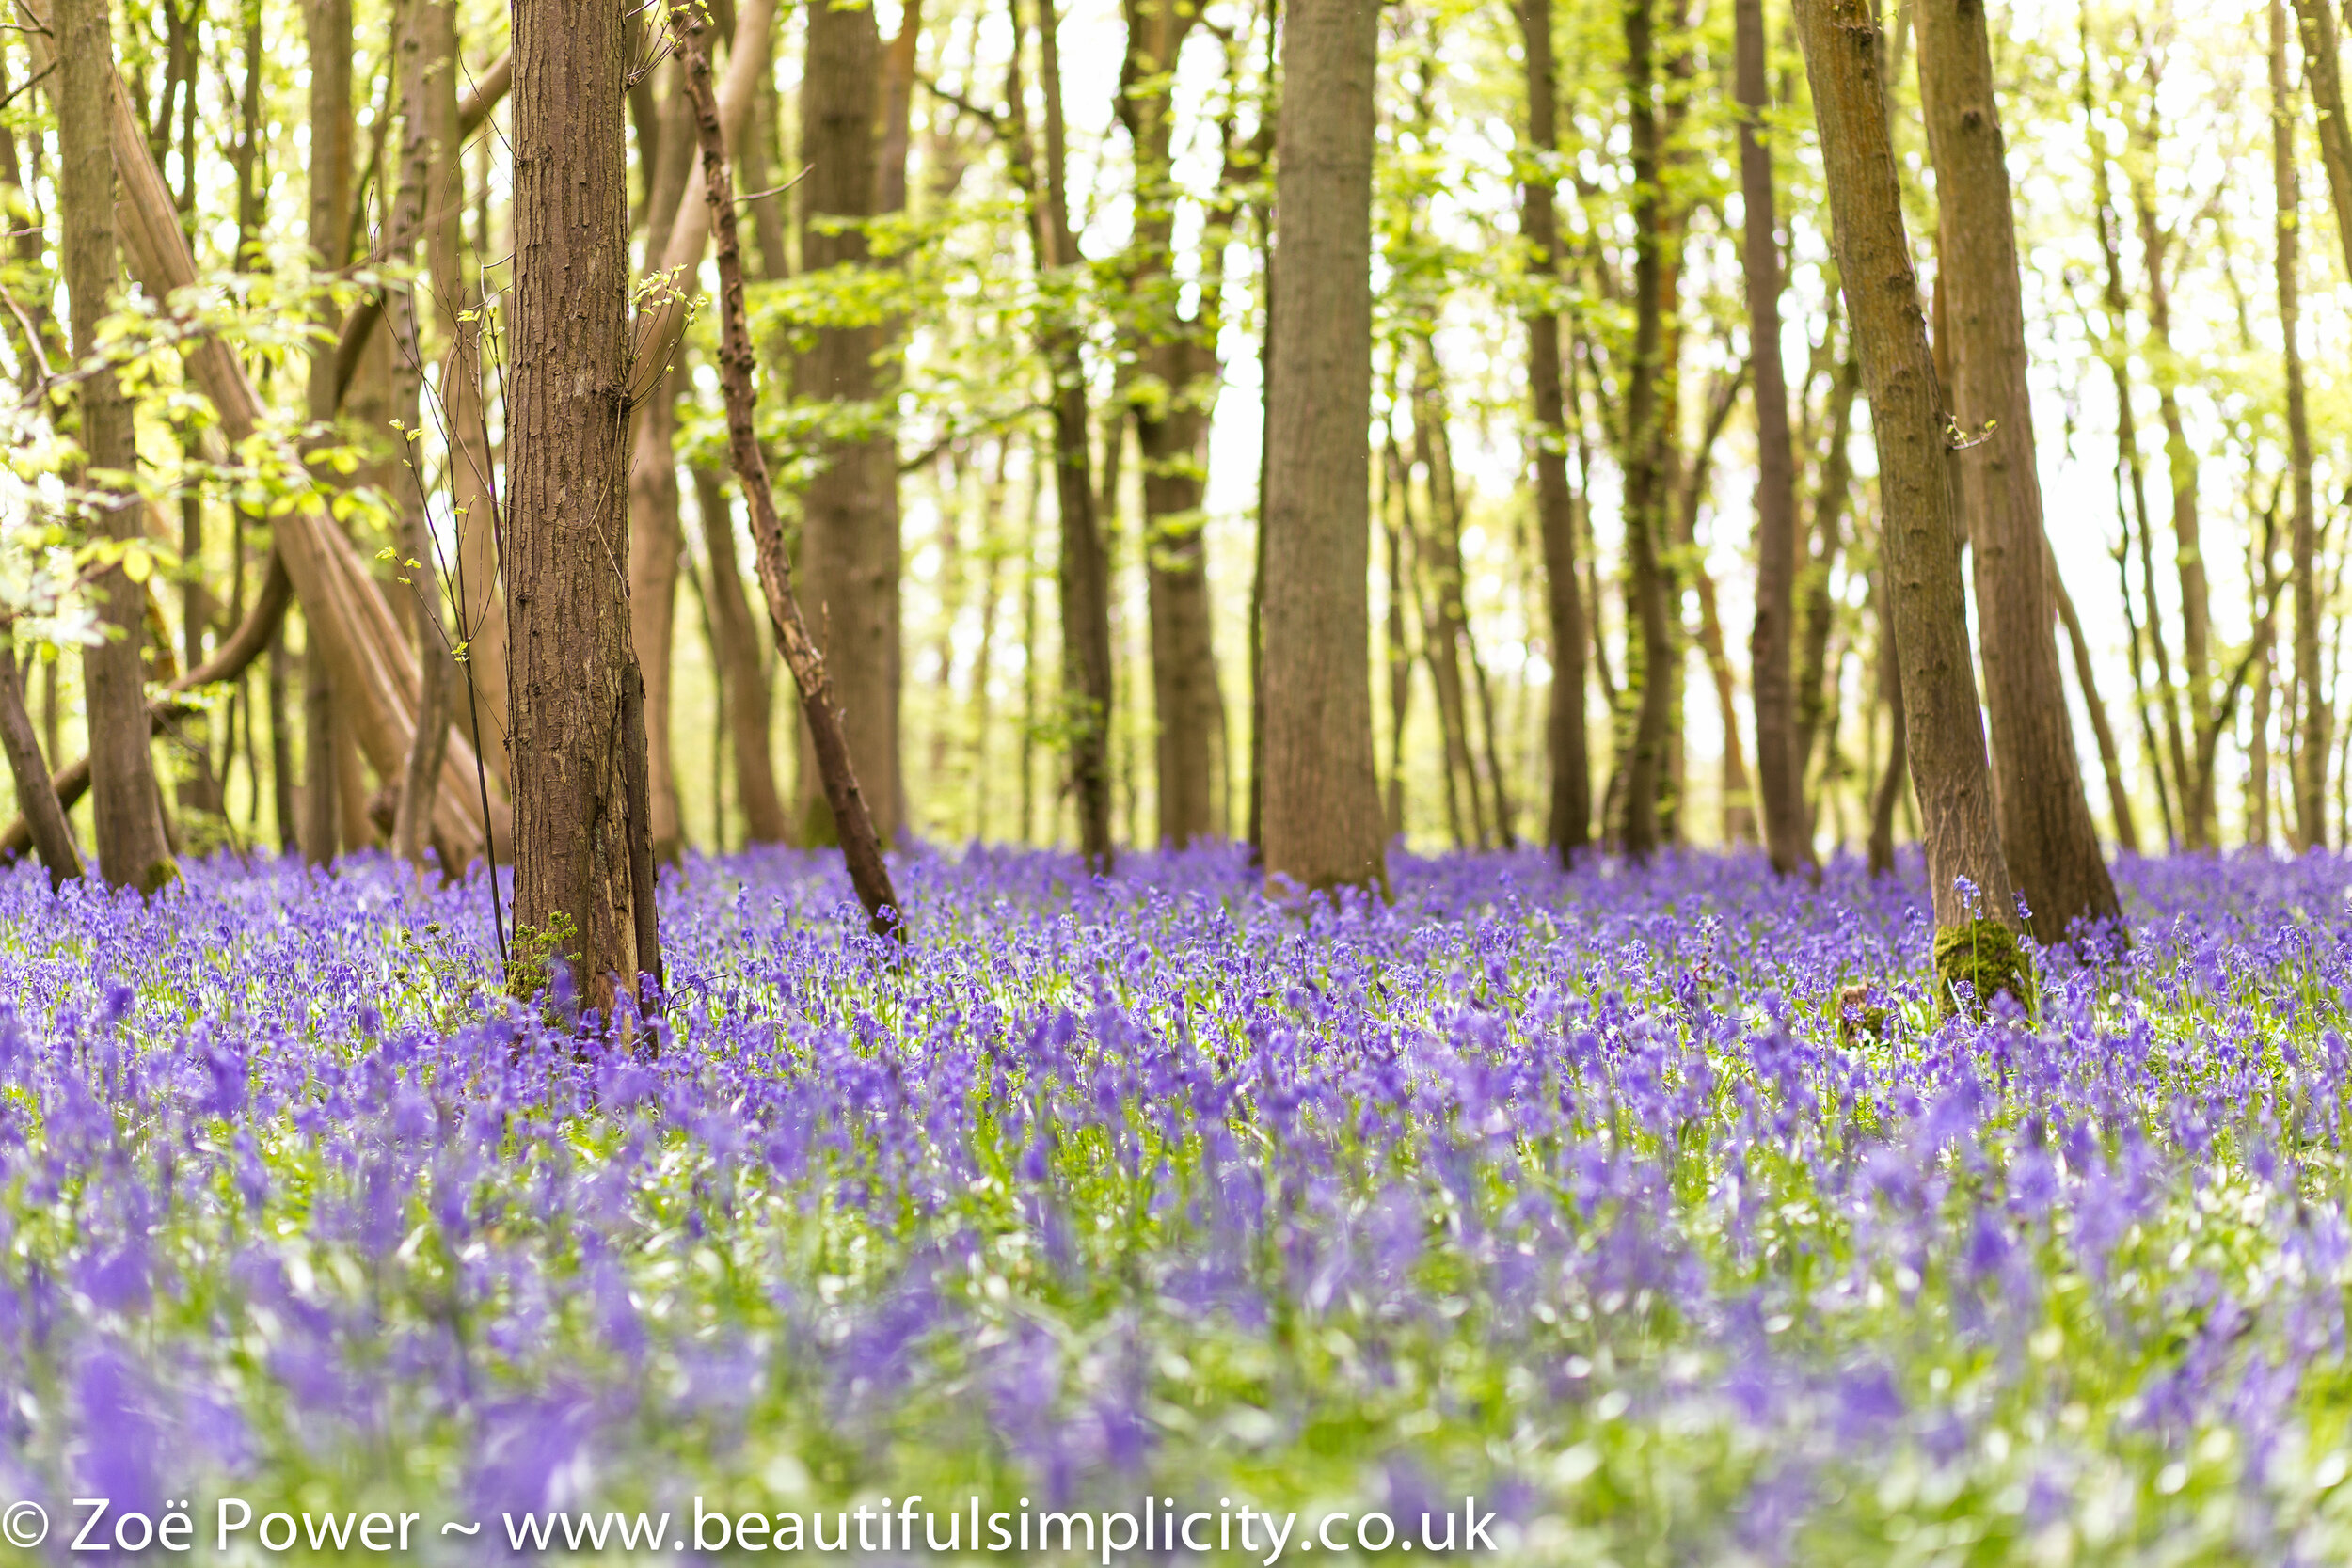
This photo was taken on my Canon 85mm f1.8 lens at f1.8.
You will notice that none of these recommendations include zoom lenses. You can buy zoom lenses with low f-stop numbers that produce very beautiful blurry backgrounds, but they are very expensive and very heavy. The 24-70mm f2.8 and 70-200mm f2.8 have been on my wish list for a very long time. That said, it is possible to achieve some background blur with a zoom lens at a long focal length and a not-quite-so-small aperture. The shot below was taken on my Canon 24-105mm lens at 105mm and f4. Because the trees in the background were a long way away, they are out of focus.
This photo was taken on my Canon 24-105mm f4 lens at 105mm and f4.
Summary
So, to achieve background blur in your photos, you need to:
Use a low f-stop number (ideally f1.4-2.8)
Use a lens with a long focal length (approx. 50mm and upwards)
Stand close to your subject
Position your background as far away from your subject as possible (and keep it simple)
Use a DSLR or micro four thirds camera
I hope that was helpful. Do let me know if you have any questions and I'll do my best to answer them.

Save this post to Pinterest