The modern photo album dilemma
Do you make photo albums?
Back in the day, life seemed much simpler. I'd shoot 24 or 36 photos on a roll of film, get it developed and printed, and then choose the best prints to put in an album. And maybe even hand write a few captions. As I moved over to digital, I carried on with the same approach until I couldn't handle the increased volume of photos (which ones to choose?), or the backlog of editing that inevitably built up. I went through a phase of printing photos I was particularly proud of on my inkjet printer at A4 in size and lovingly filled pretty cloth covered albums. Soon, my shelves were bursting at the seams.

Then I discovered the likes of Photobox and Blurb for designing and making beautifully bound and printed photobooks that were much more economical on space. The perfect modern day photo album. Except that they take quite some significant effort to make. I used to make a photo album for each holiday we went on. But as time went by, I struggled to keep up, and before I knew it, a year or so had gone by and then it all seemed a bit pointless....and I felt that I was missing so many moments and adventures that happened in-between the holidays....
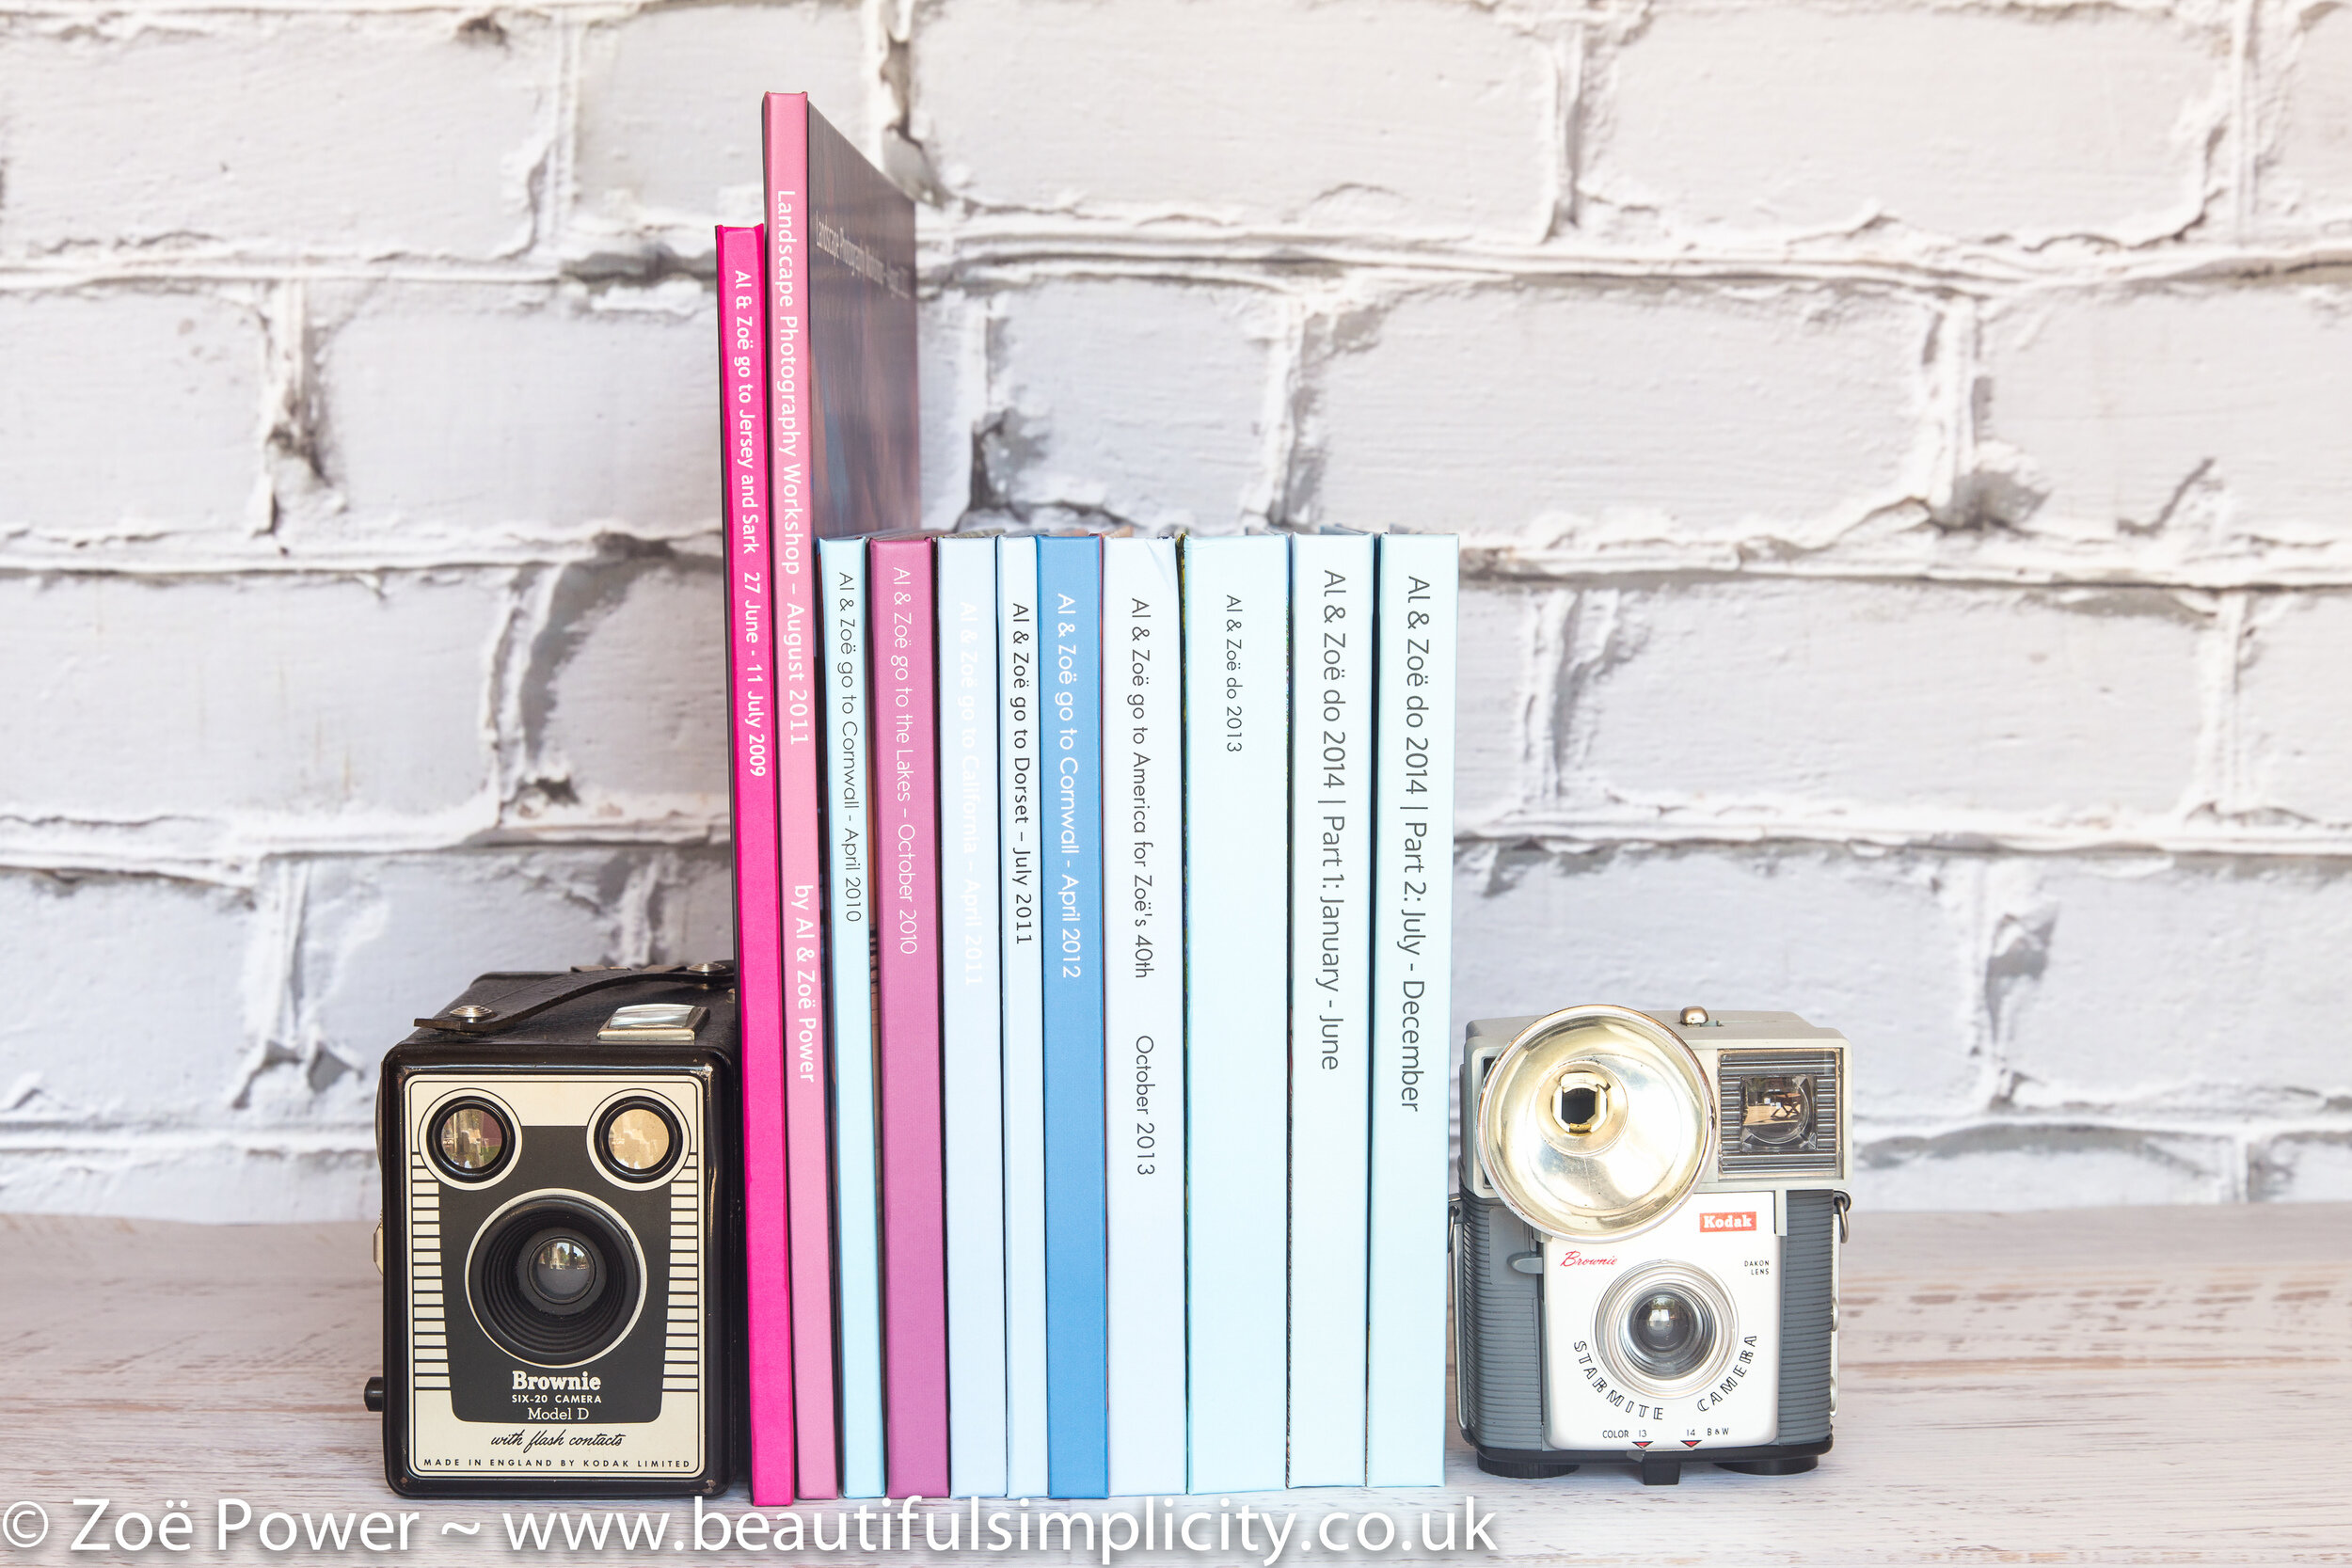
So my new approach is to create a photobook for each year, to capture the pretty holiday highlights AND all the everyday important moments in-between. They have become a blend of iPhone snaps (the best photo diary I have) and beautifully edited high resolution photos taken on my "big camera" and I love it that way. I also decided to add in a list of highlights and happenings for each month, to help us remember what we did when - and this has turned out to be really useful (a page per month). It also means that I don't then need to worry about captions for individual photos.


But surely that's a mammoth task I hear you ask? Well, yes, it's not insignificant, but I have found a way to streamline it and make it manageable, and as it's only once a year it feels more doable. Plus, I absolutely LOVE the end result - I still much prefer to leaf through a carefully edited book of treasured images, than trawl through countless folders of unsorted images on my computer.


My supplier of choice is Blurb (although I've only ever tried Photobox as an alternative). I love the quality of Blurb's books, the prices are reasonable (I usually go for the standard landscape version), and I like the tools they provide to layout the books, including the fact that you can make them all off-line and that you can create custom layouts. I hate tools that auto-generate content for you and force you to use fixed themes - I want to control which images go where, in which order, and which fonts and colours to use (major control freak!). That said, I did encounter a major issue with my last Blurb project, which I'm sharing below in the hope it may save you some time and frustration :)


My Process for creating a yearly photo album
At the start of each year I create a Google doc called Key Dates with a heading for each month. At the end of every month, I quickly jot down the things we did, places we visited and the things I want to remember for that month, alongside the date they happened. It only takes a few minutes if you cross reference your calendar and your phone's photo roll and is SUCH a massive help at the end of the year (I'm hopeless at remembering dates!).
At the end of every month, I download all my iPhone photos to my computer and delete them from my phone. I then go through them and sort and edit them pretty ruthlessly (I've got 500ish photos on my camera roll so far this month to give you an idea of scale!). This step is so important and is the only way I can keep on top of things. (I also try to go through the photos I've taken on my "big camera" too at the end of the month, although this is a bigger job and harder to stick to - but more on that another time).
At the end of the year (or rather, beginning of the new year), I create a folder on my computer for the yearly photo album and a folder within that for each month. Using my Key Dates doc as a guide, I can quickly locate the photos I took each month and select and export my favourite photos. I try to be very selective, as I have a large number of photos. Before I begin I have a rough idea of how many pages my photobook will have, and how many pages I want to dedicate to each month. Some months will inevitably have more photos than others, as you will probably take lots more photos in the summer, say, than the colder, darker winter months. For my 2014 photobooks, I used about 240 pages in total.
Now I'm ready to start making my photobook. For my last book, I used Blurb's BookWright application (Blurb offer a variety of different tools, so worth checking them out before you start). It is worth mentioning here a key fact that Blurb doesn't seem to display anywhere and I didn't find out until it was too late: BookWright has a file size limit of 4.29GB. If you hit this limit, it grinds to a halt and you can no longer save your project. So, when you are exporting your photos to use in the book, I would recommend not exporting them at full size/resolution if you have a decent DSLR. The advice I received from Blurb is to use "images that are sized near their image container at 300 dpi". The problem with this advice is that I didn't know whether I was going to use an image for a full page layout or 4 to a page until I started to lay the book out.... But next time I'll export them at, say, 90% quality, with the long edge sized at 3,600 pixels, which should reduce the file size significantly, whilst still being reasonable quality. The key thing to do before you start is to check the total size of all the images you plan to use and make sure it's less than 4.29GB.
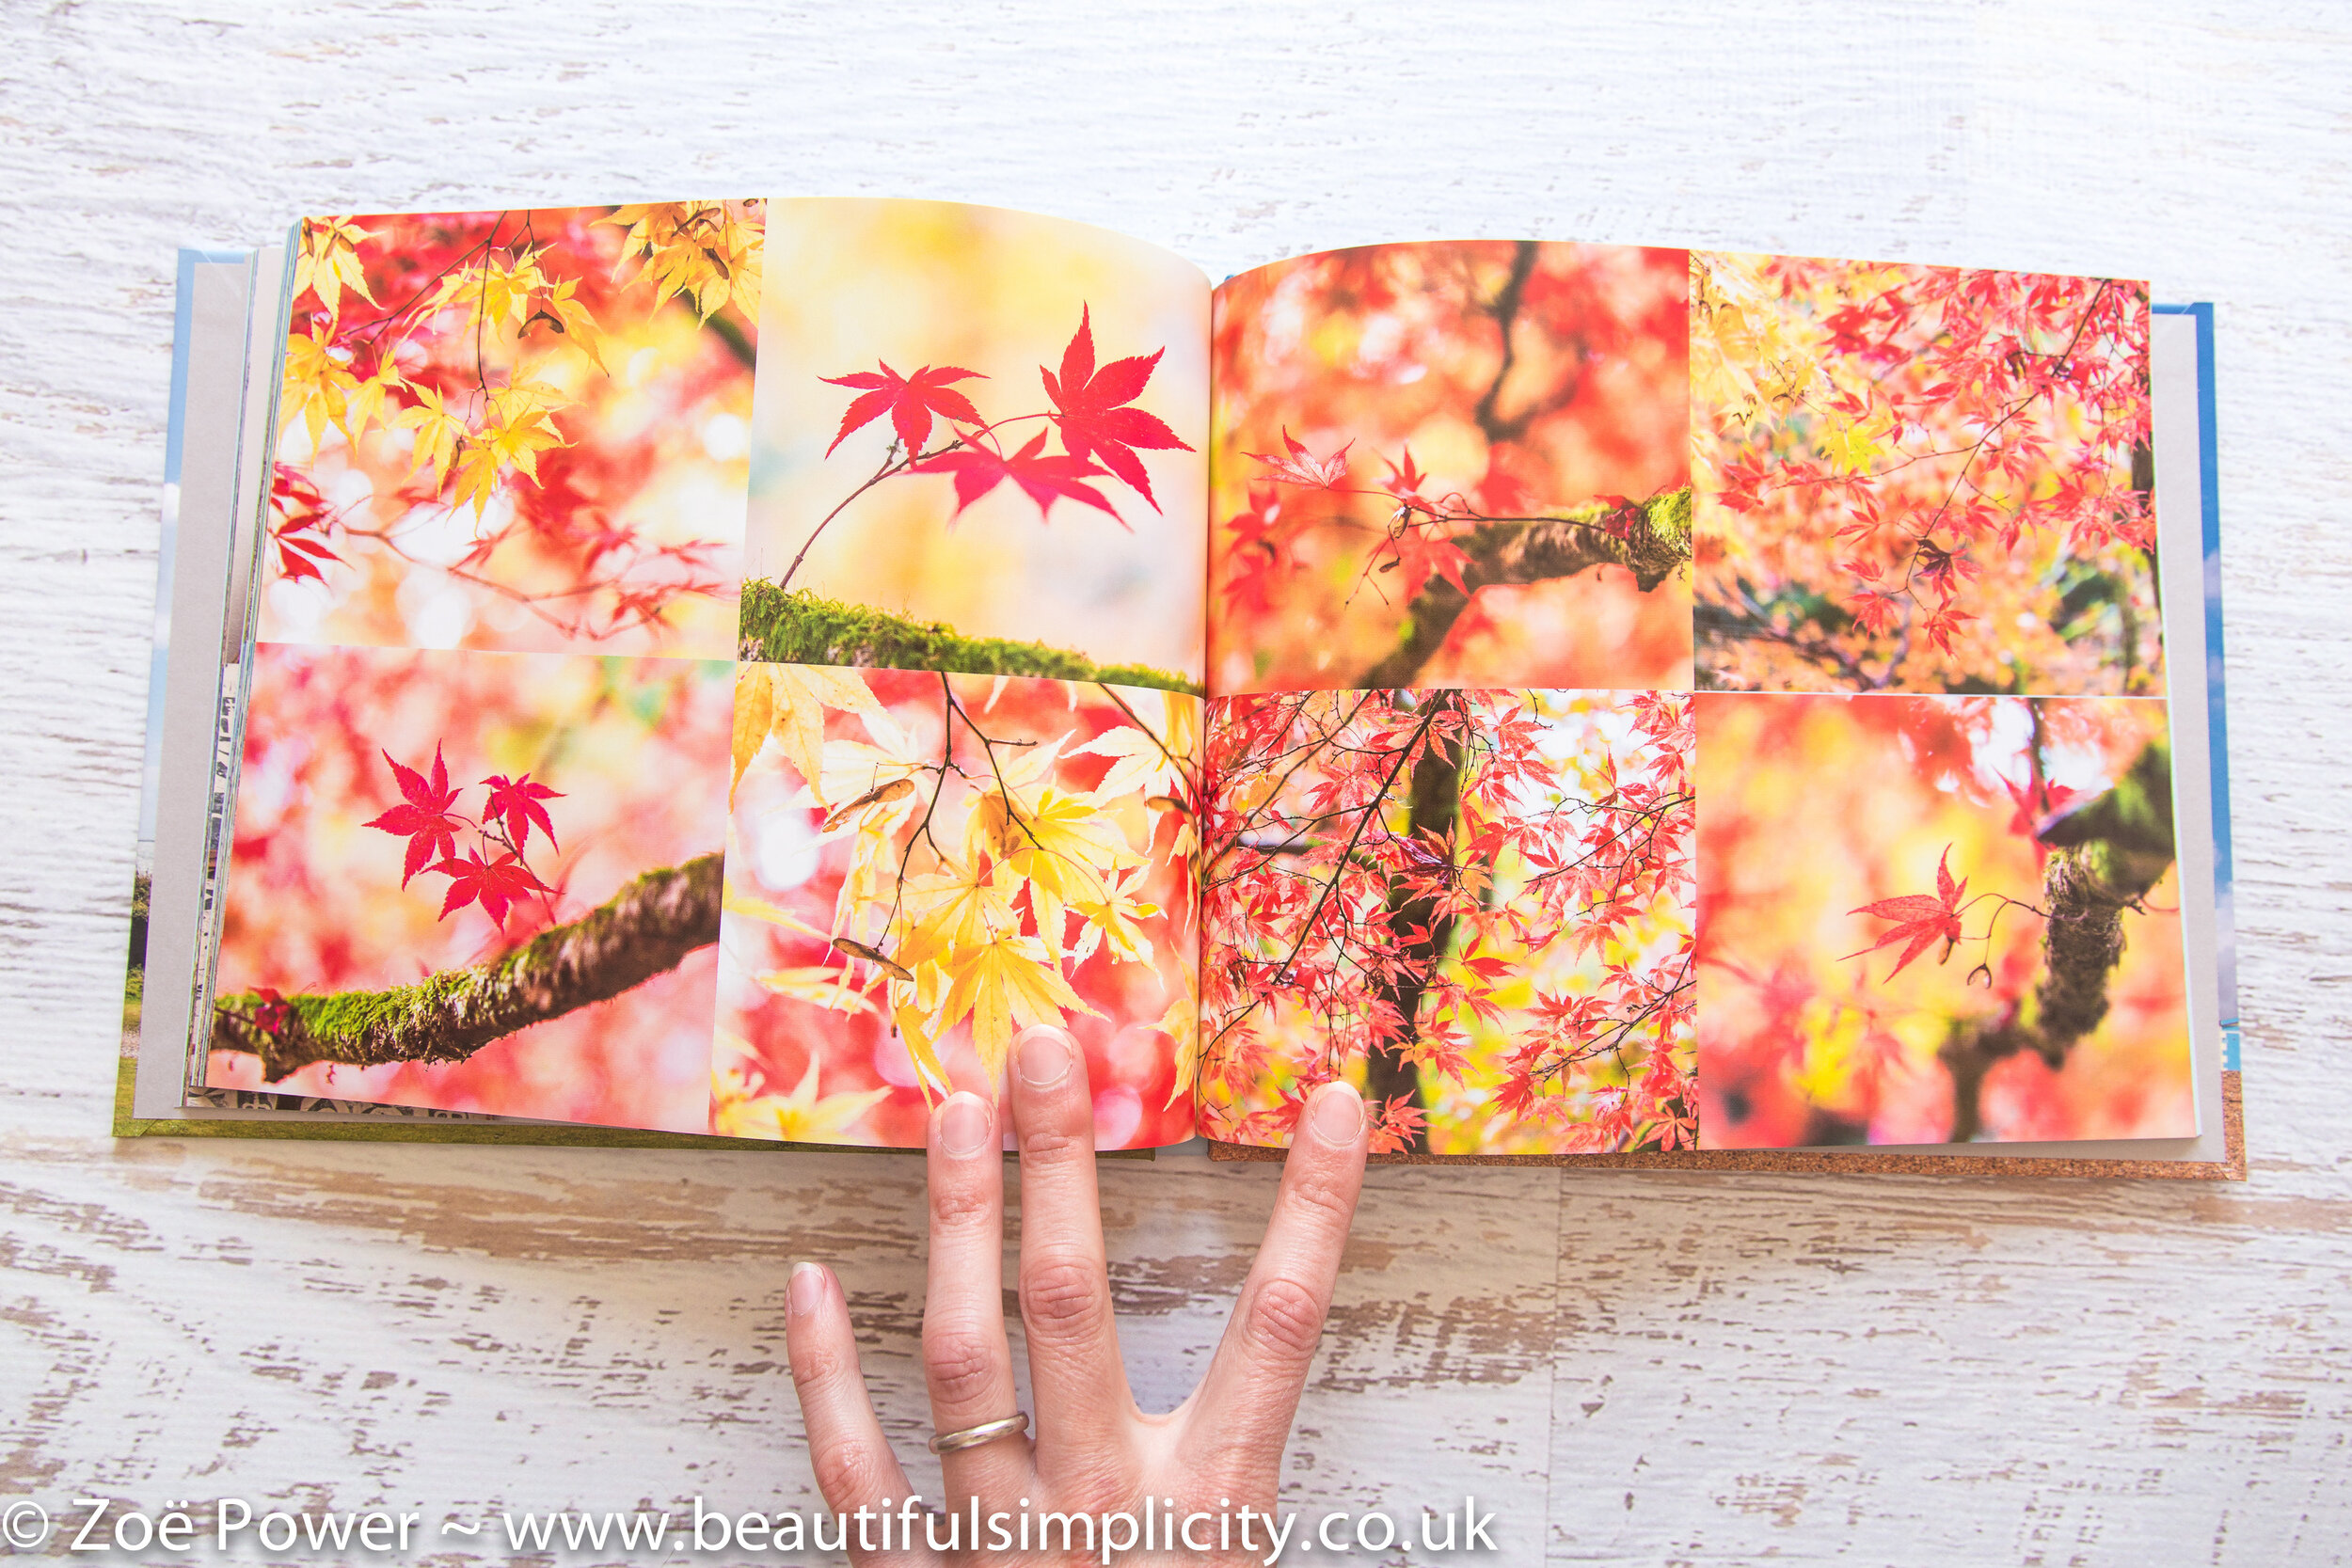
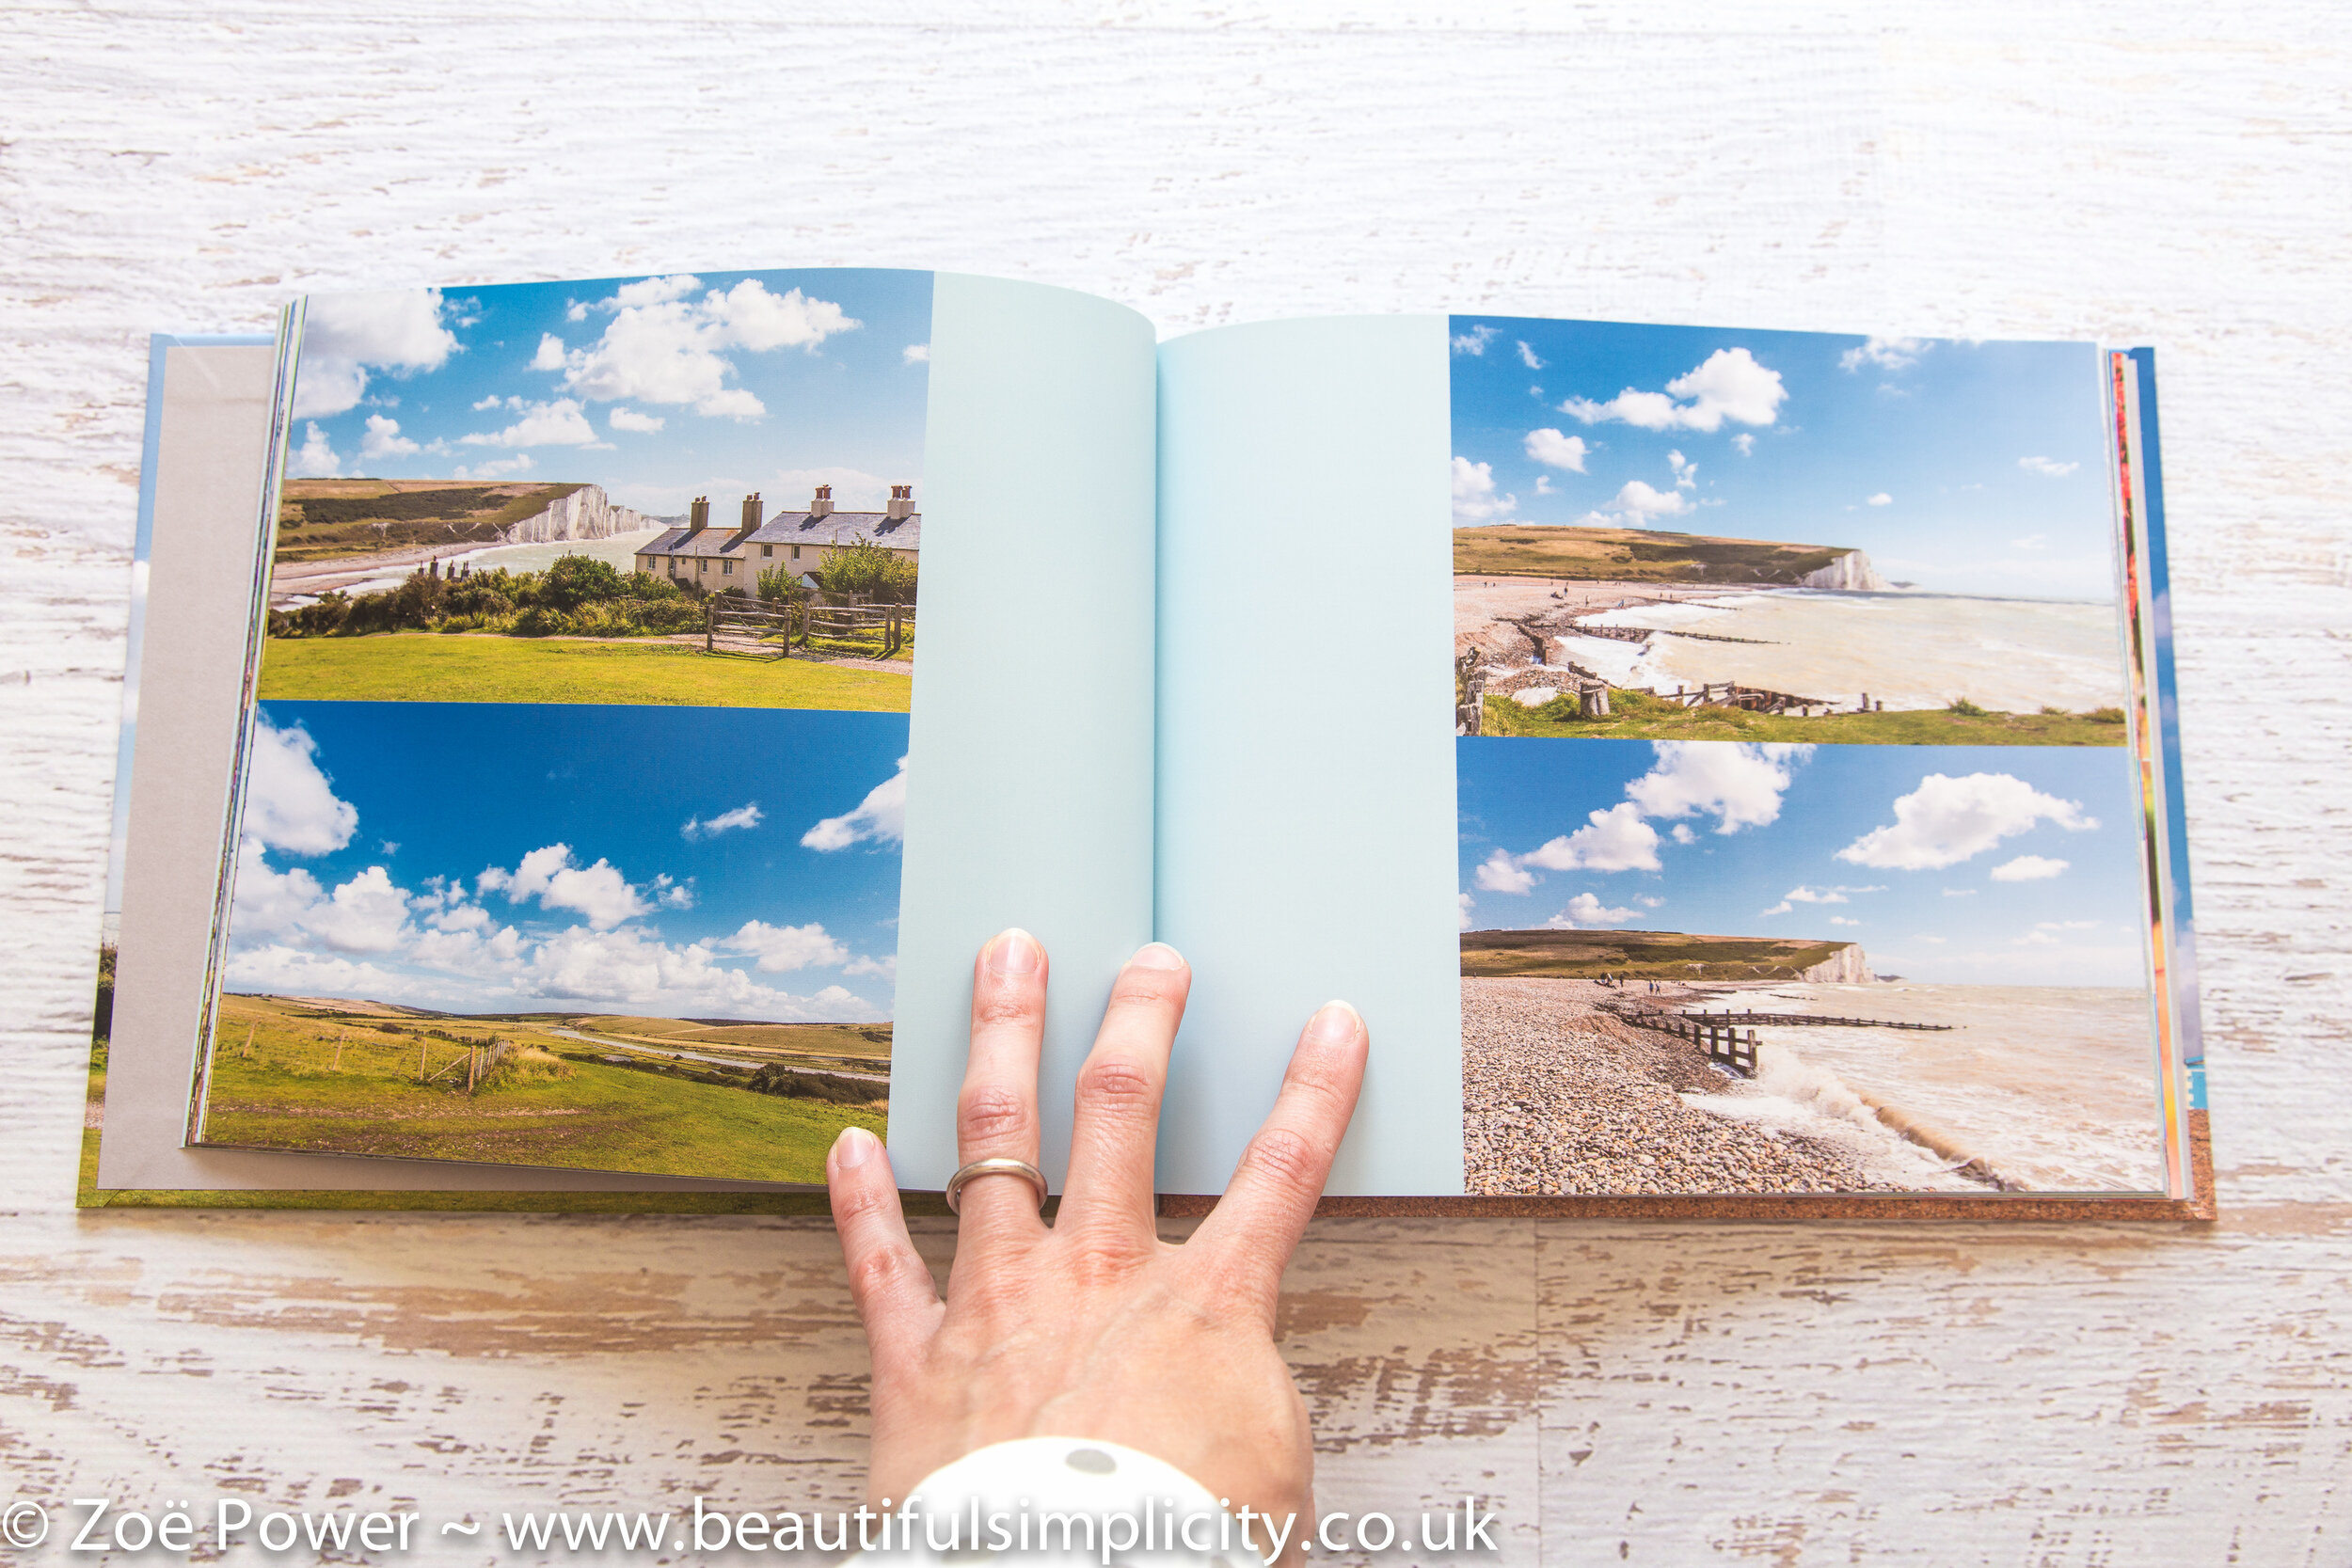
I won't provide a step by step guide here to using BookWright as Blurb provide lots of great help materials. But my one piece of advice (apart from file size!) is to load in one month's worth of photos into the application at a time. That way, it's much easier to manage and see what you have and which ones you still need to use. Any photos I didn't use in that month's layout, I deleted, so I didn't get confused from month to month. Very helpful if you are working with large volumes of photos. The application allows you to drag and drop your photos onto the page, and to choose from pre-selected layouts, or create your own. I used lots of 4 to a page layouts. Oh and I copied and pasted my key dates from my document too, and regularly referred to this to make sure I got the order right!
Once you've finished laying out your book and have checked it using the preview and built in tools, you simply upload and order it. I opted for a PDF version as well as the print book, so I could look at a copy on a computer or my iPad if I wanted. It's worth signing up to Blurb's mailing list before you order as they seem to regularly run promotions with money off.
So that's it! I hope that's been helpful. Let me know if you have any questions about using BookWright and I'll do my best to help. I'd love to know of any other photobook suppliers or methods you've used that you would recommend, especially if they provide you with lots of control over page layout etc.
NB. This is NOT a sponsored post, just my experiences and opinions of using Blurb.